Irrigation Schedule
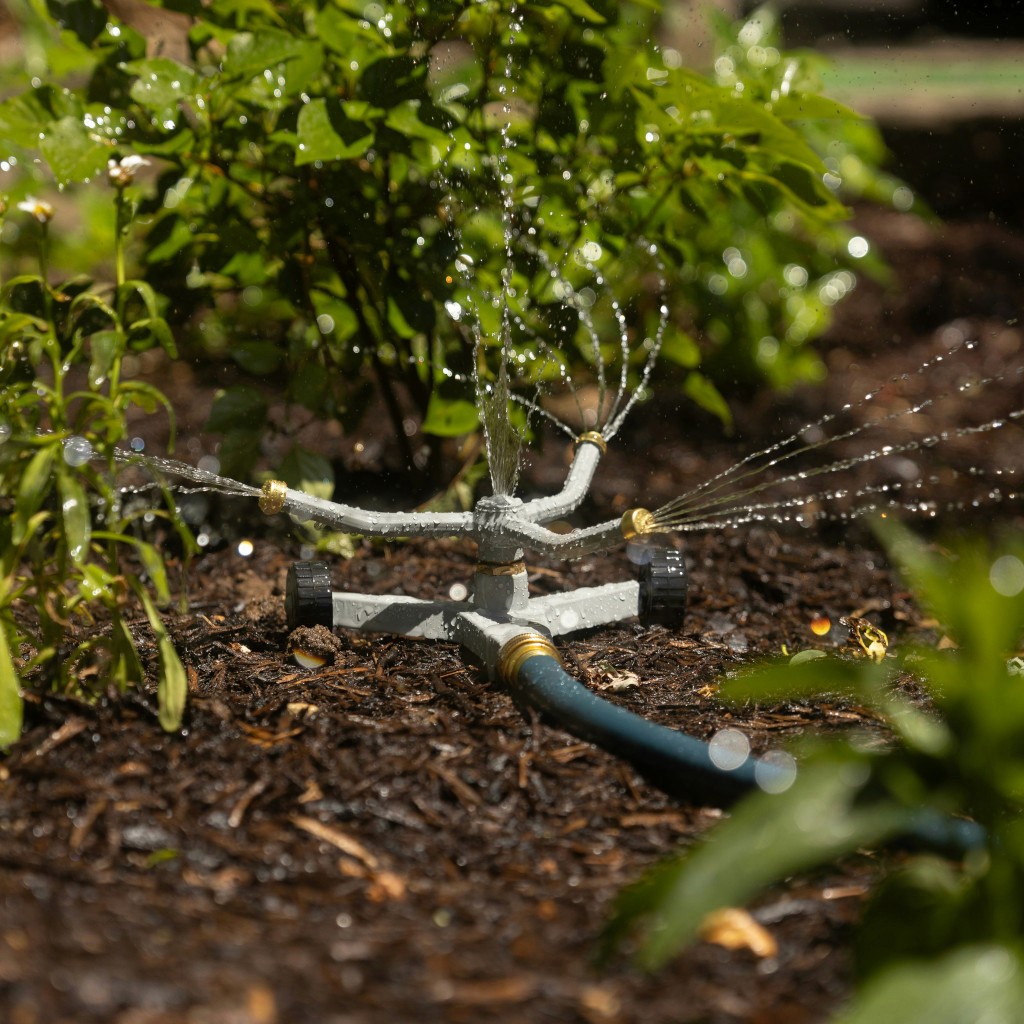
To keep your garden blooming beautifully all summer long, your lawn lush and green, and your vegetables thriving, proper irrigation is essential. With the right irrigation controller, you can even manage watering through Apple Home. And with the right workflow and Controller Hub in Controller for HomeKit, you'll ensure your garden only waters when it has not rained recently and the forecast shows no significant rainfall ahead.
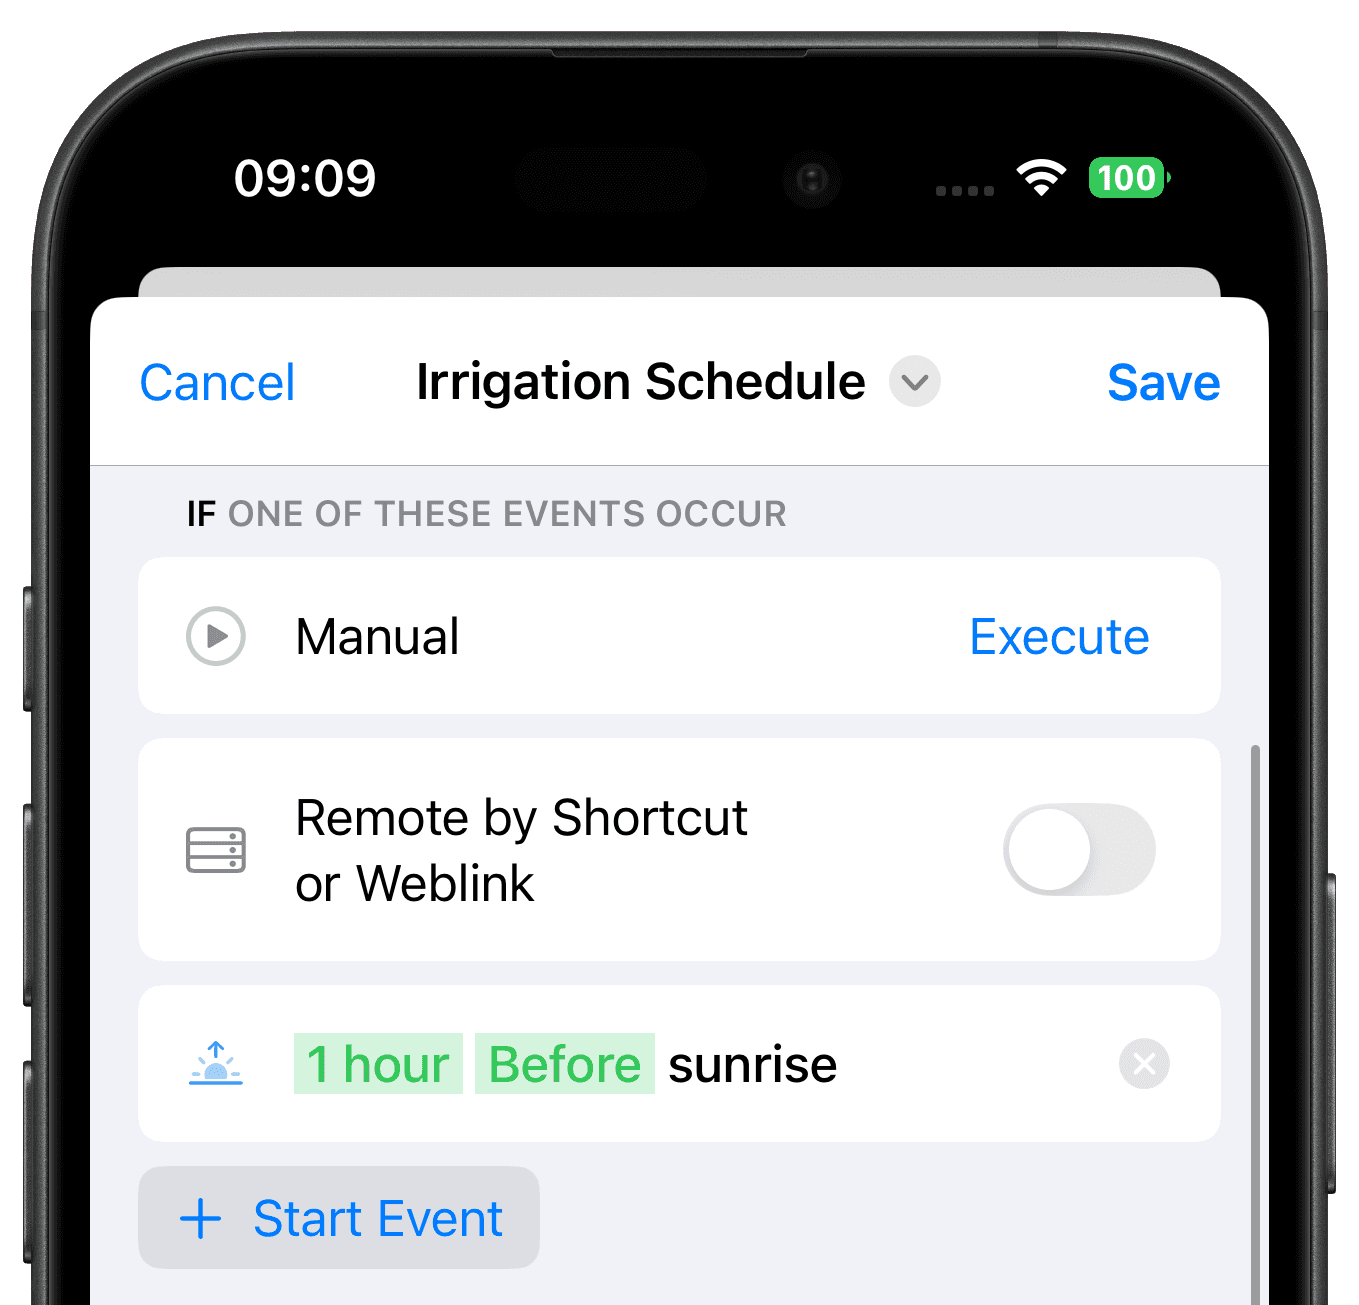
Start Event
Plants should be watered early in the morning or late in the evening, when temperatures are lower and evaporation is reduced. Add the "At Sunrise" start event and set it to "1 hour before sunrise".
Conditions
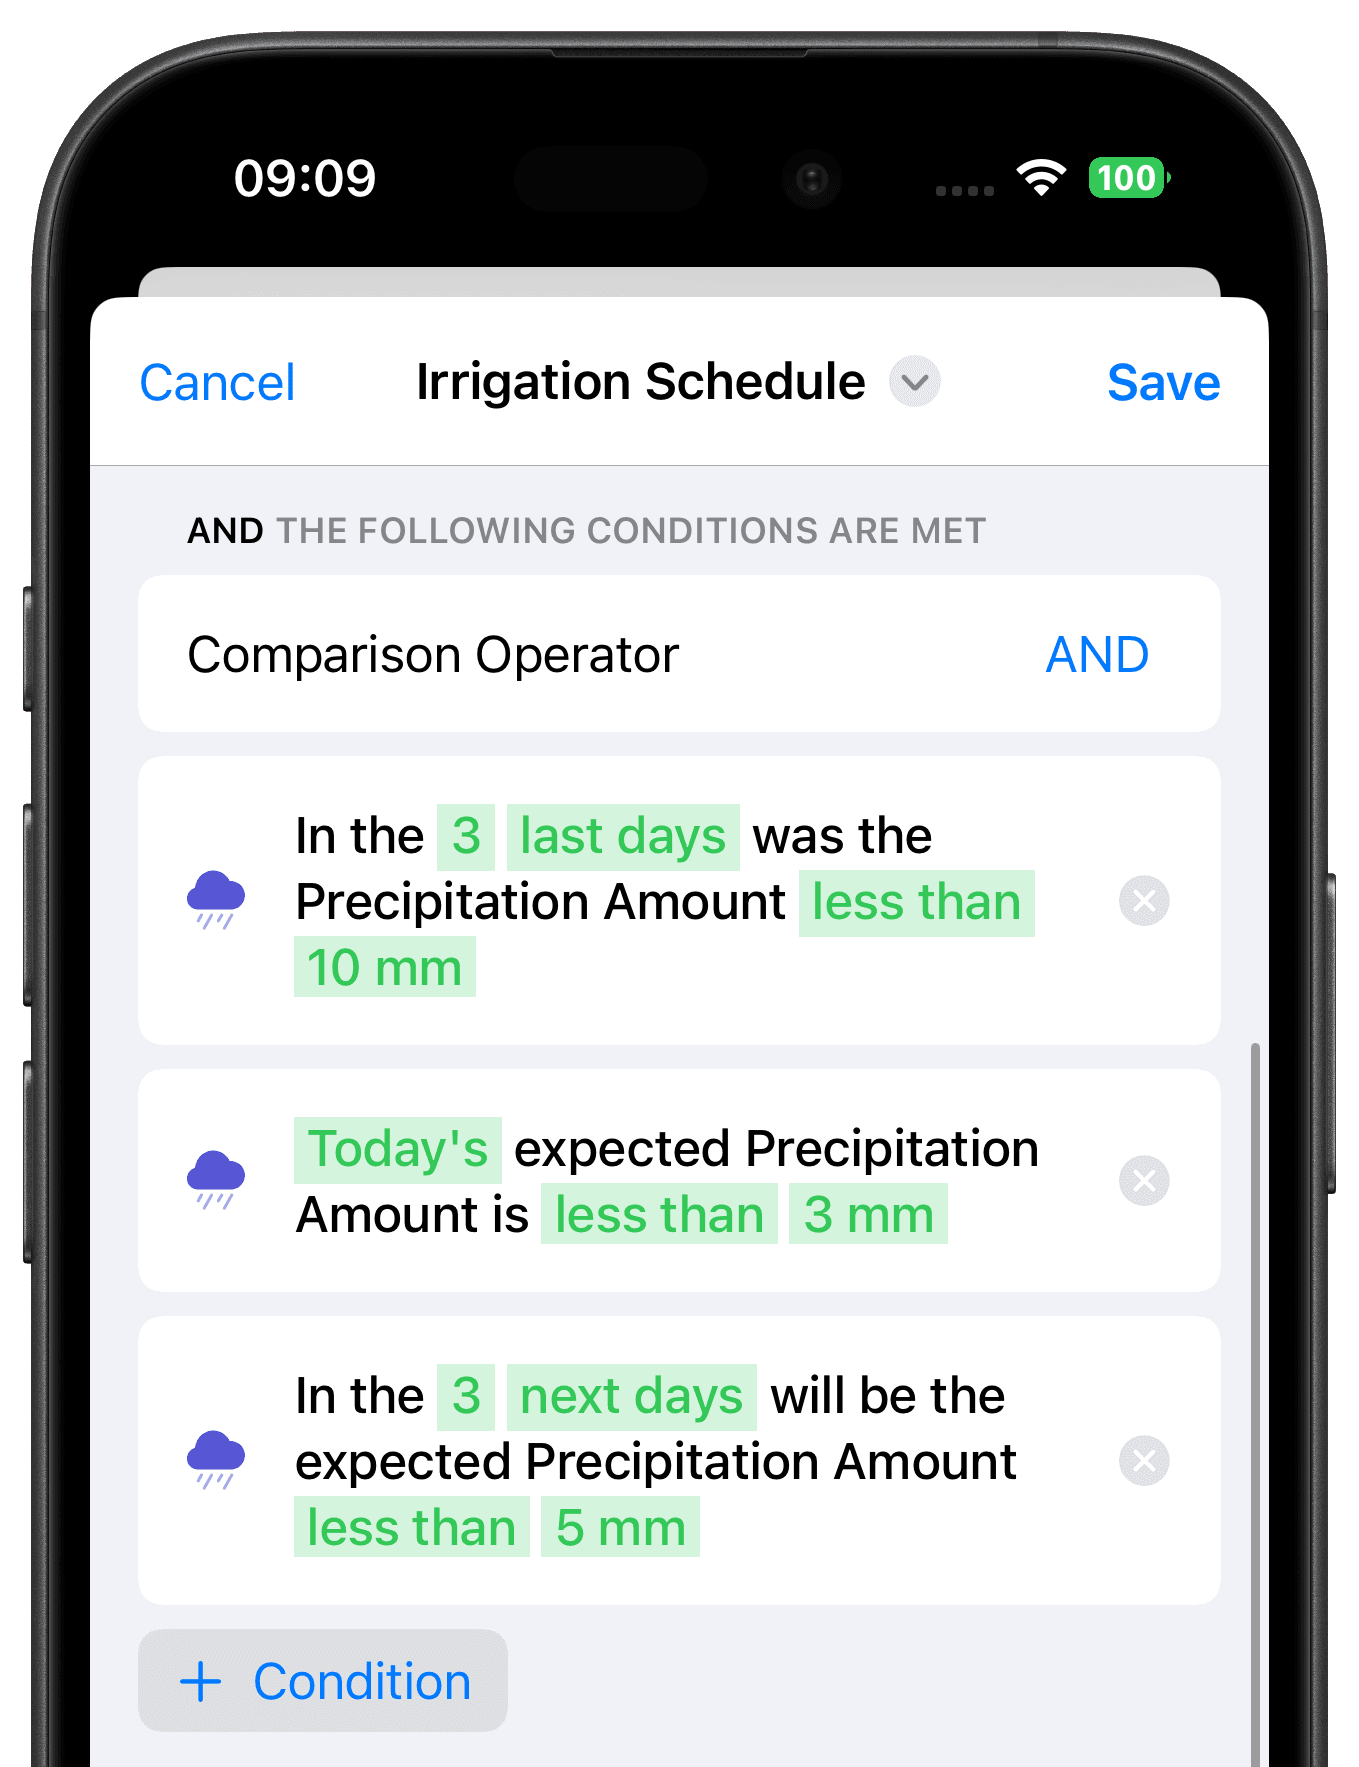
The conditions define whether it rained recently or whether rain is expected, so watering only starts when needed.
Add a "Precipitation Amount" Condition
Select "Last 3 Days" and set it to "less than 10 mm". If your soil dries quickly (for example sandy soil), shorten the window or reduce the threshold.
Add a "Precipitation Amount" Condition
Add another precipitation condition for "Today" and set it to "less than 3 mm".
Add a "Precipitation Amount" Condition
Add a third precipitation condition for "Next 3 Days" and set it to "less than 5 mm". For clay soil, a longer forecast window can also work.
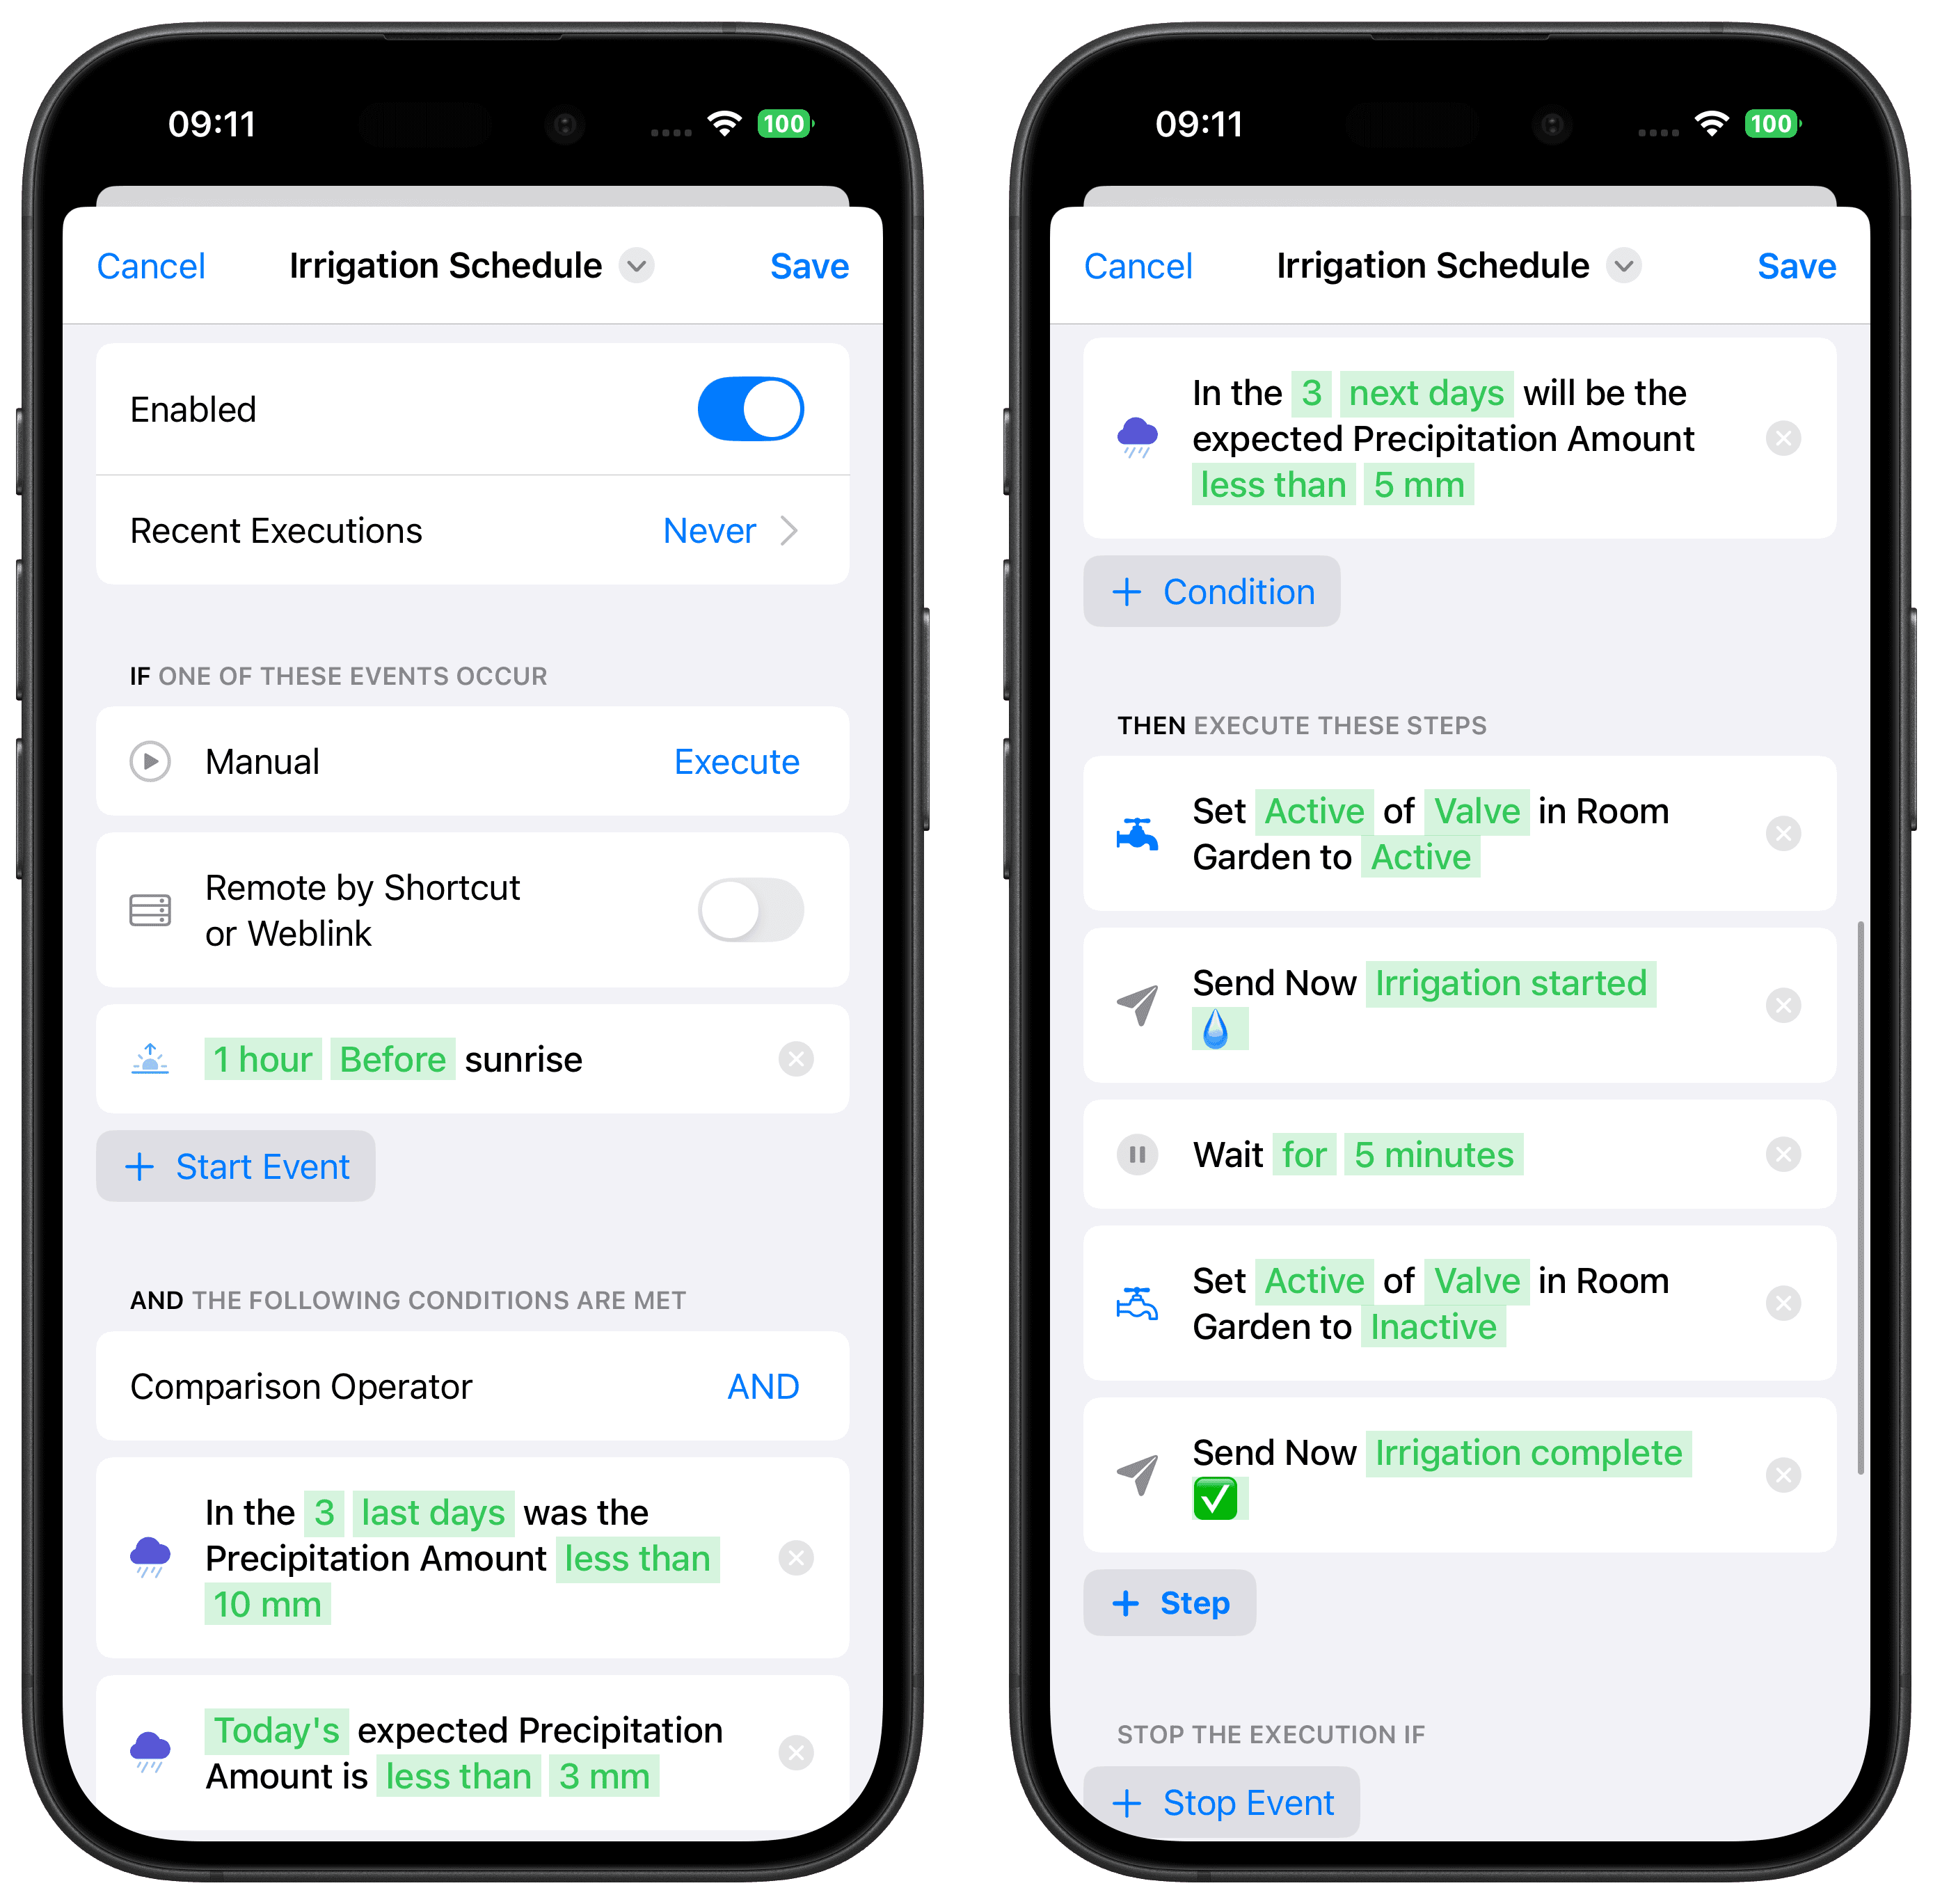
Comparison Operator
Set the comparison operator to "AND" so watering only happens when all precipitation checks are below their thresholds.
Steps
Add a "Control Accessory" Step
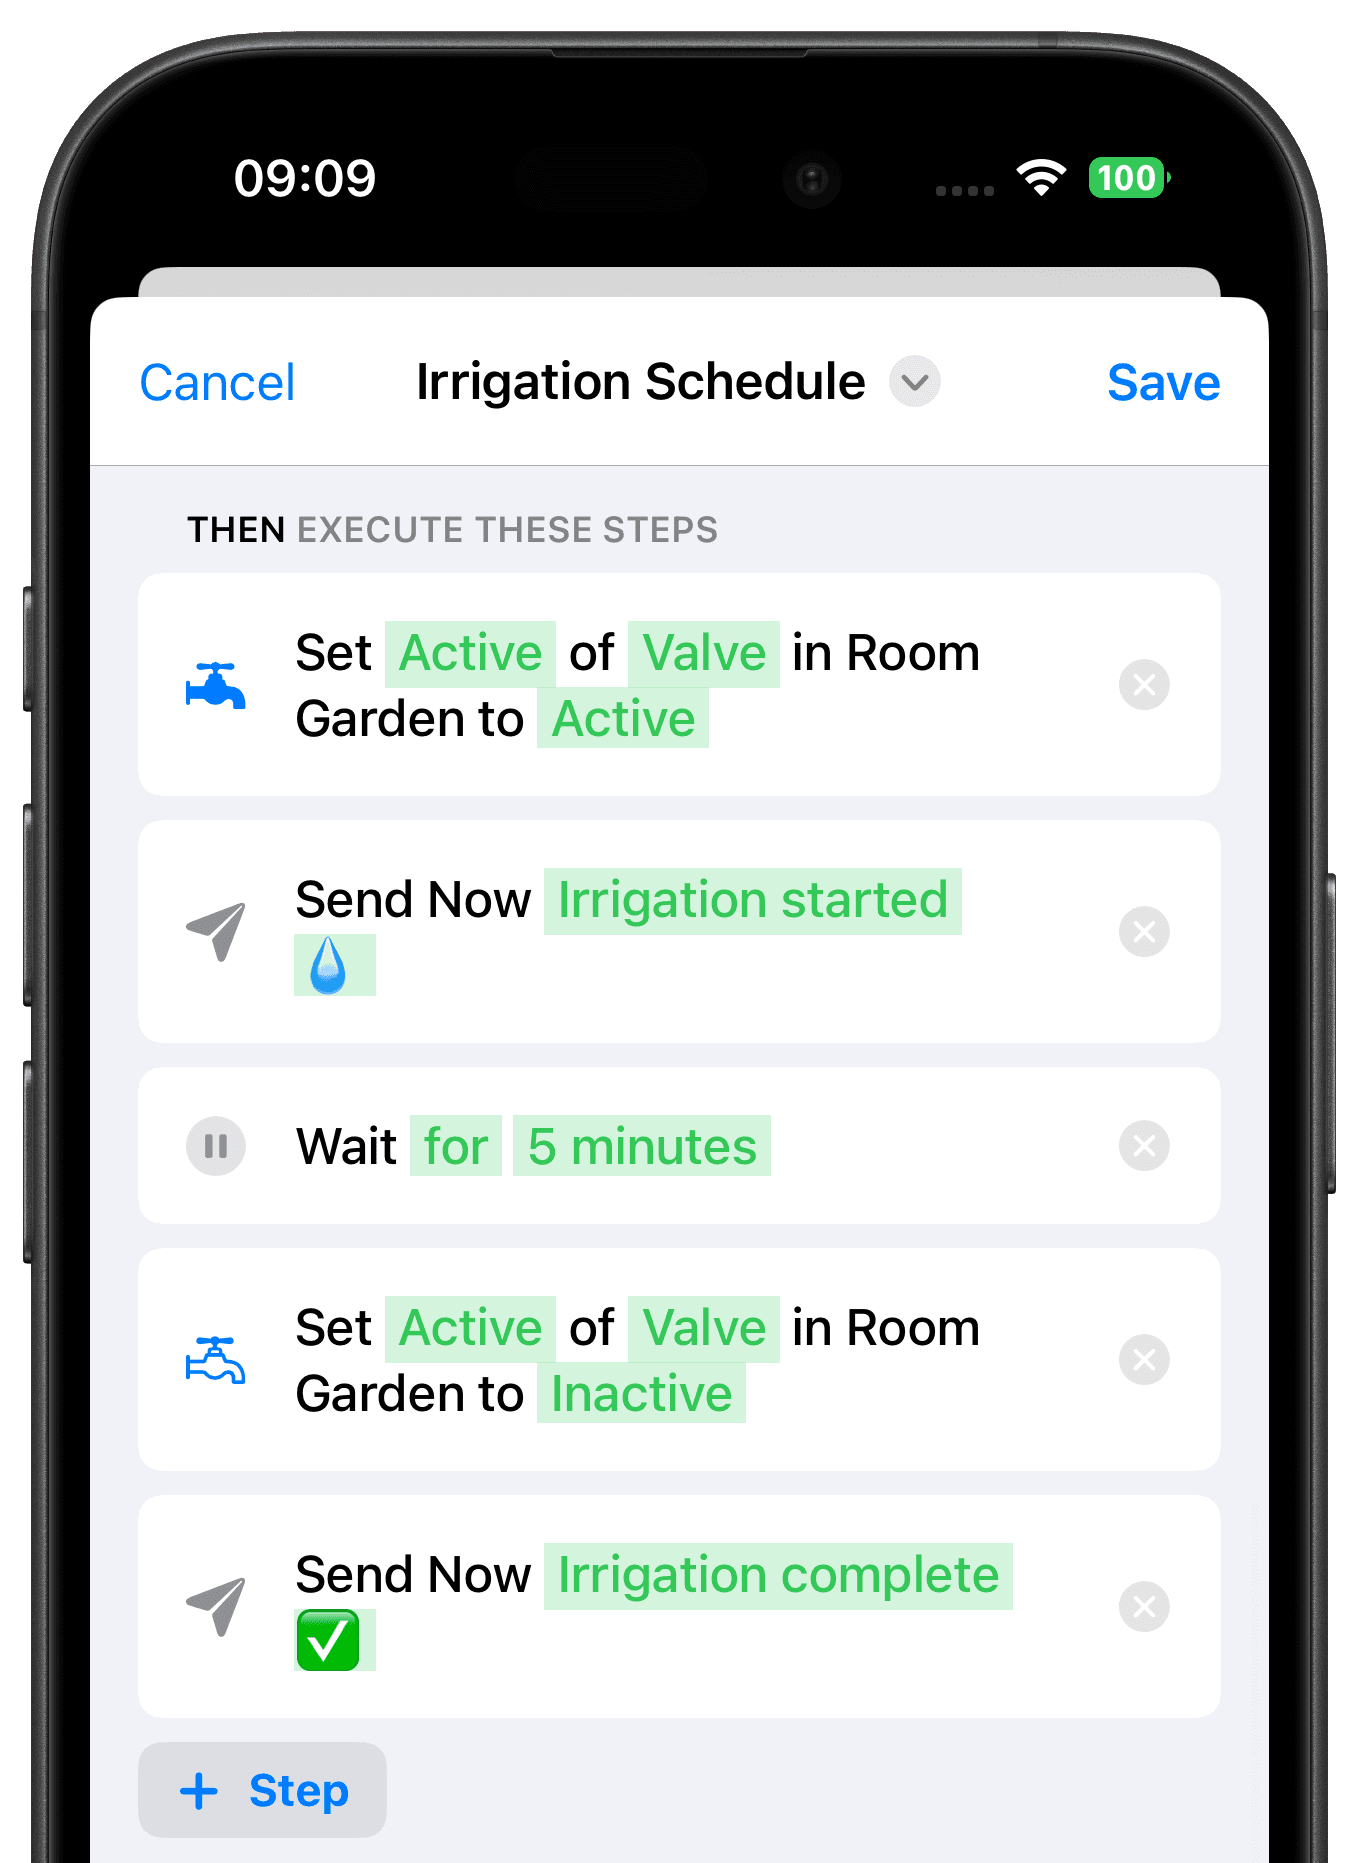
Add a control accessory step, select your irrigation controller, and set it to turn on.
Add a "Notification" Step
Optionally add a notification to confirm that watering has started.
Add a "Wait" Step
Add a wait step with a 5-minute delay.
Add a "Control Accessory" Step
Add another control accessory step for the same controller and turn it off.
Add a "Notification" Step
Optionally add a second notification so you'll know when watering has finished.
Tip: You can duplicate individual steps by tapping the icon on the left.
Final Overview
Each day the workflow checks past, current, and upcoming precipitation. If all values are below your thresholds, watering starts one hour before sunrise and stops automatically after the configured wait time.
Tip: In workflow settings, choose a device to receive an alert if an execution error occurs.

Get Inspired
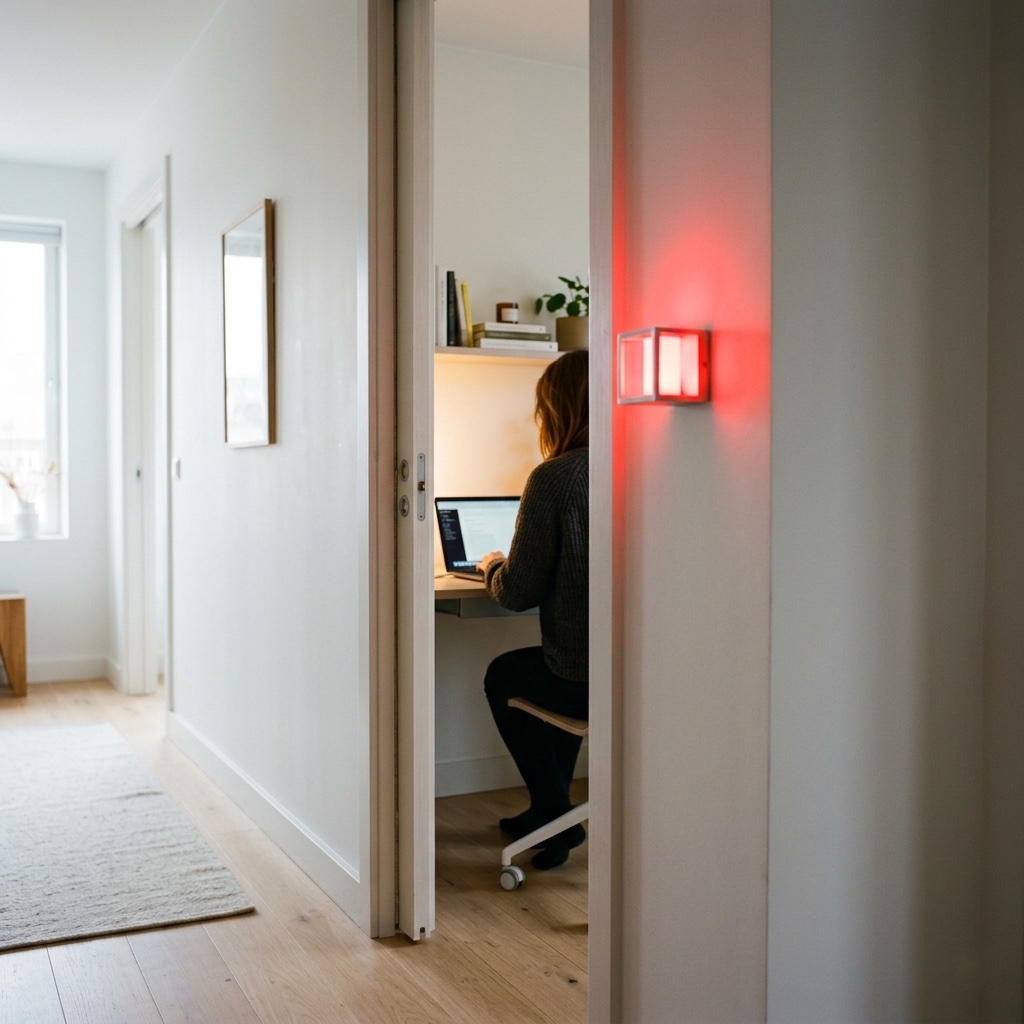
Meeting Light
Uses light color to show whether you’re in a meeting.
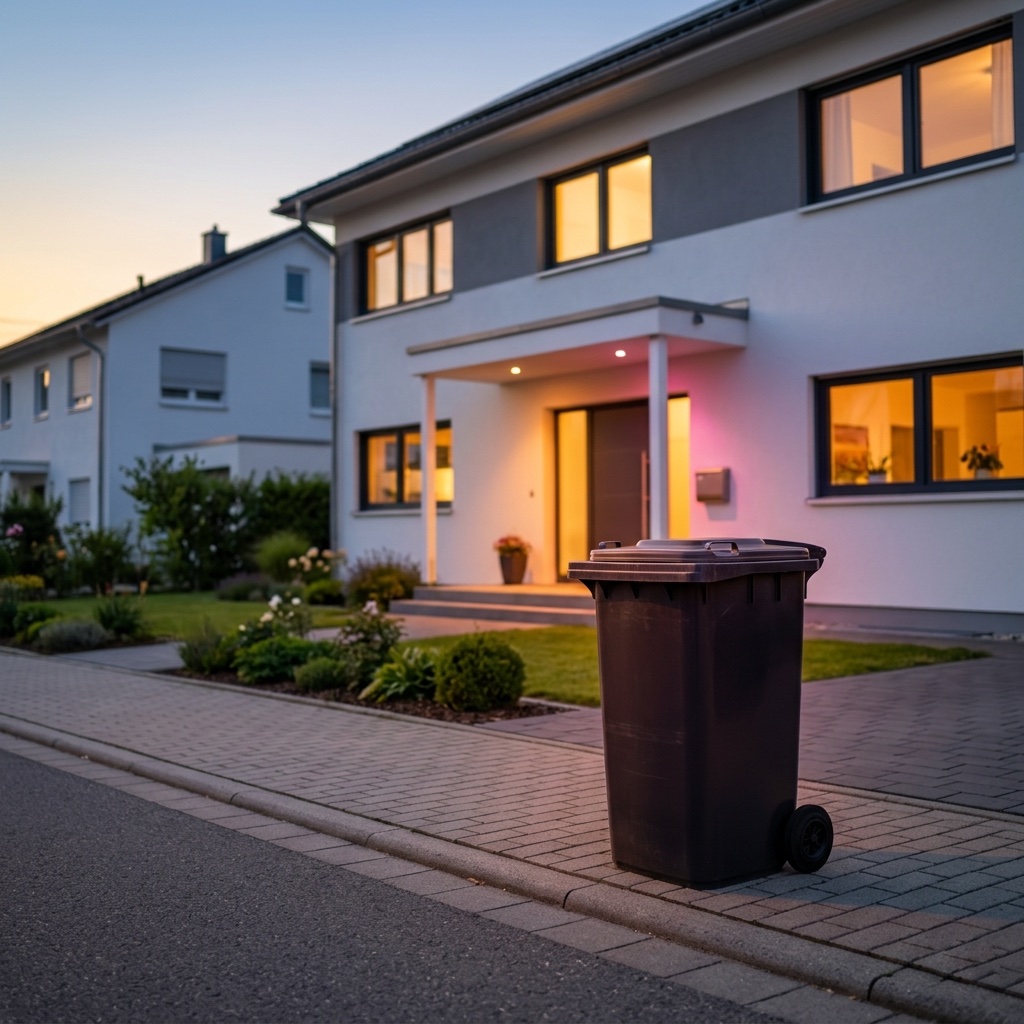
Waste Calendar
Never forget the bin again – with colored light and speech.

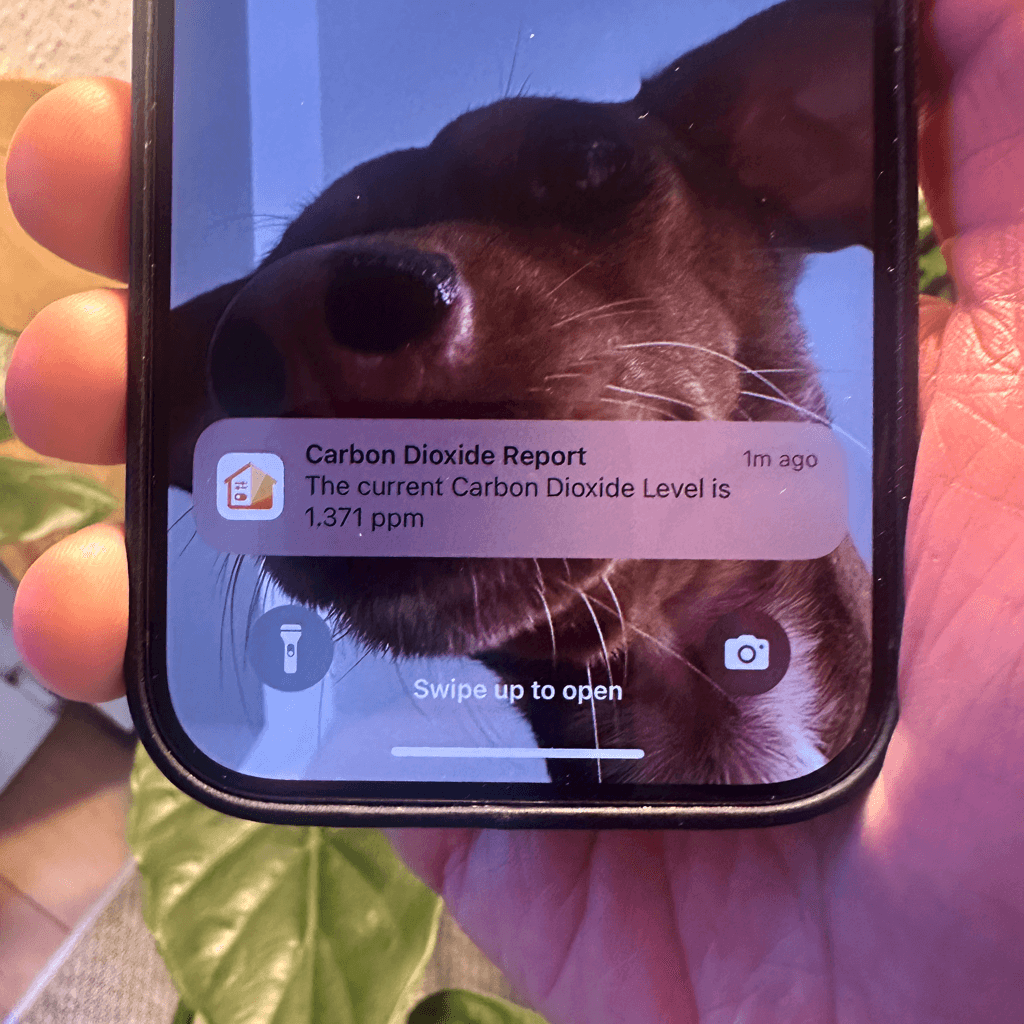
Carbon Dioxide Alert
Get notified when CO₂ levels exceed 1000 ppm.

Location-Based Workflow
Automate your routines based on where you are.
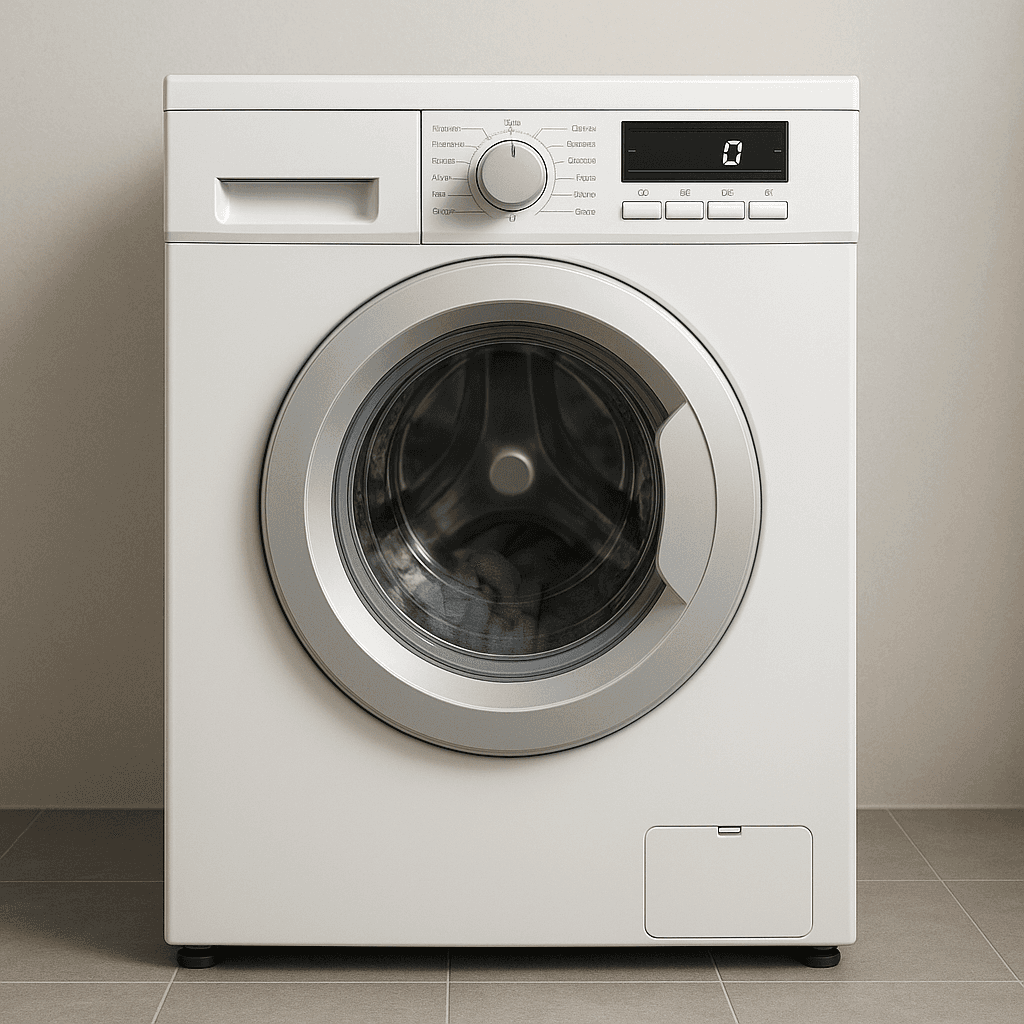
Laundry Done Alert
Receive a notification when your washing machine has finished.

Beat the Heat
Automatically close your blinds on hot days.
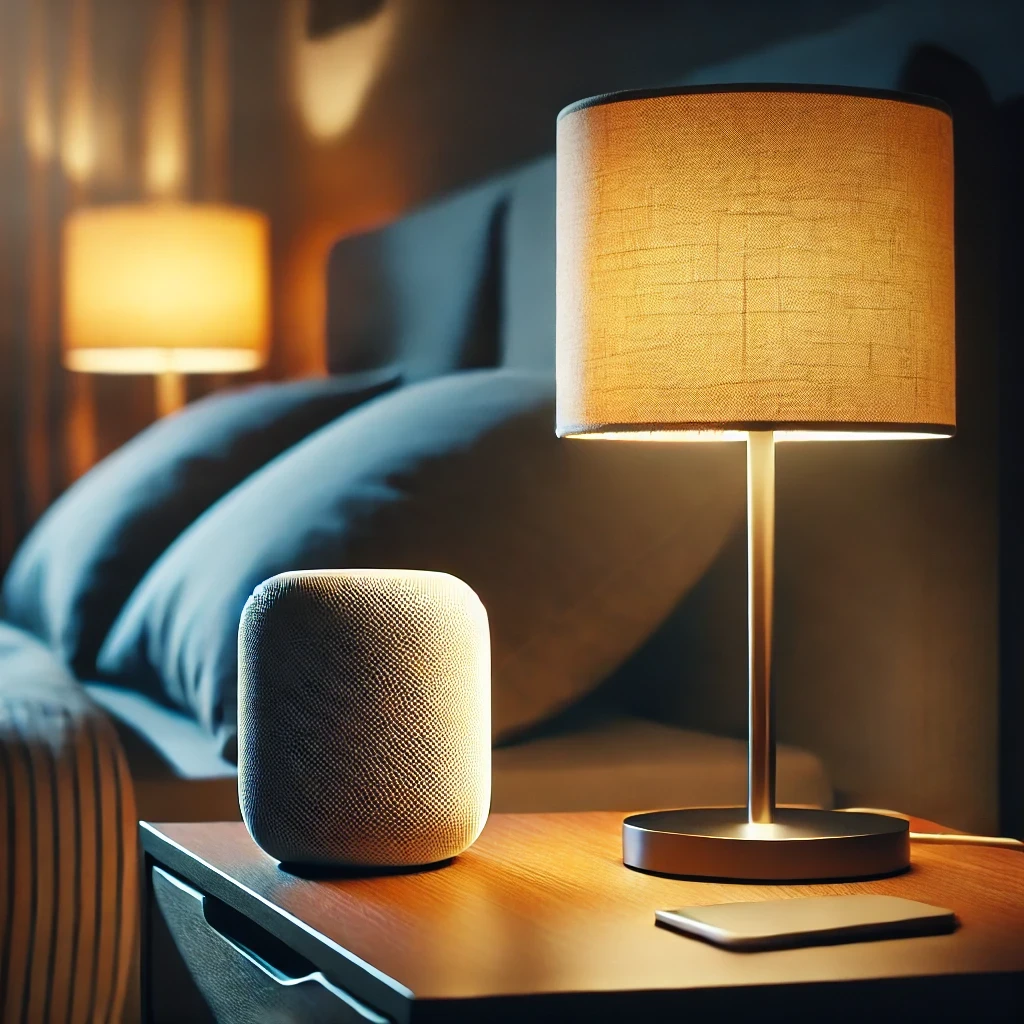
Wake-Up Light
Use any Apple Home Lamp as a Wake-Up Light.
Irrigation Schedule
Keep your garden green.
Control Lights with Multiple Motion Sensors
For large or irregularly shaped spaces.
Stepwise Brightness Control via Button
Control light brightness step by step.
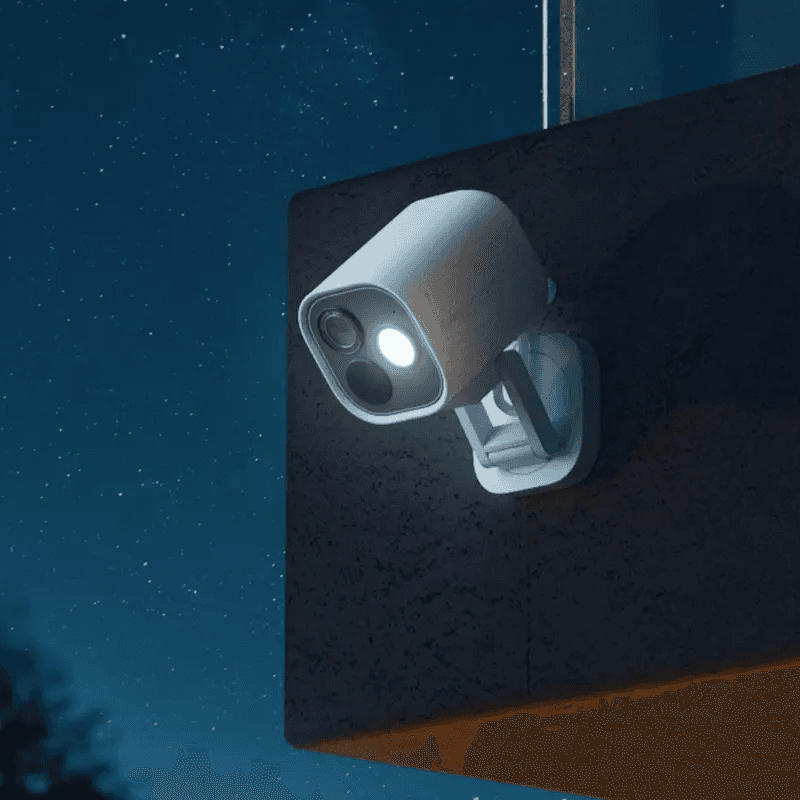
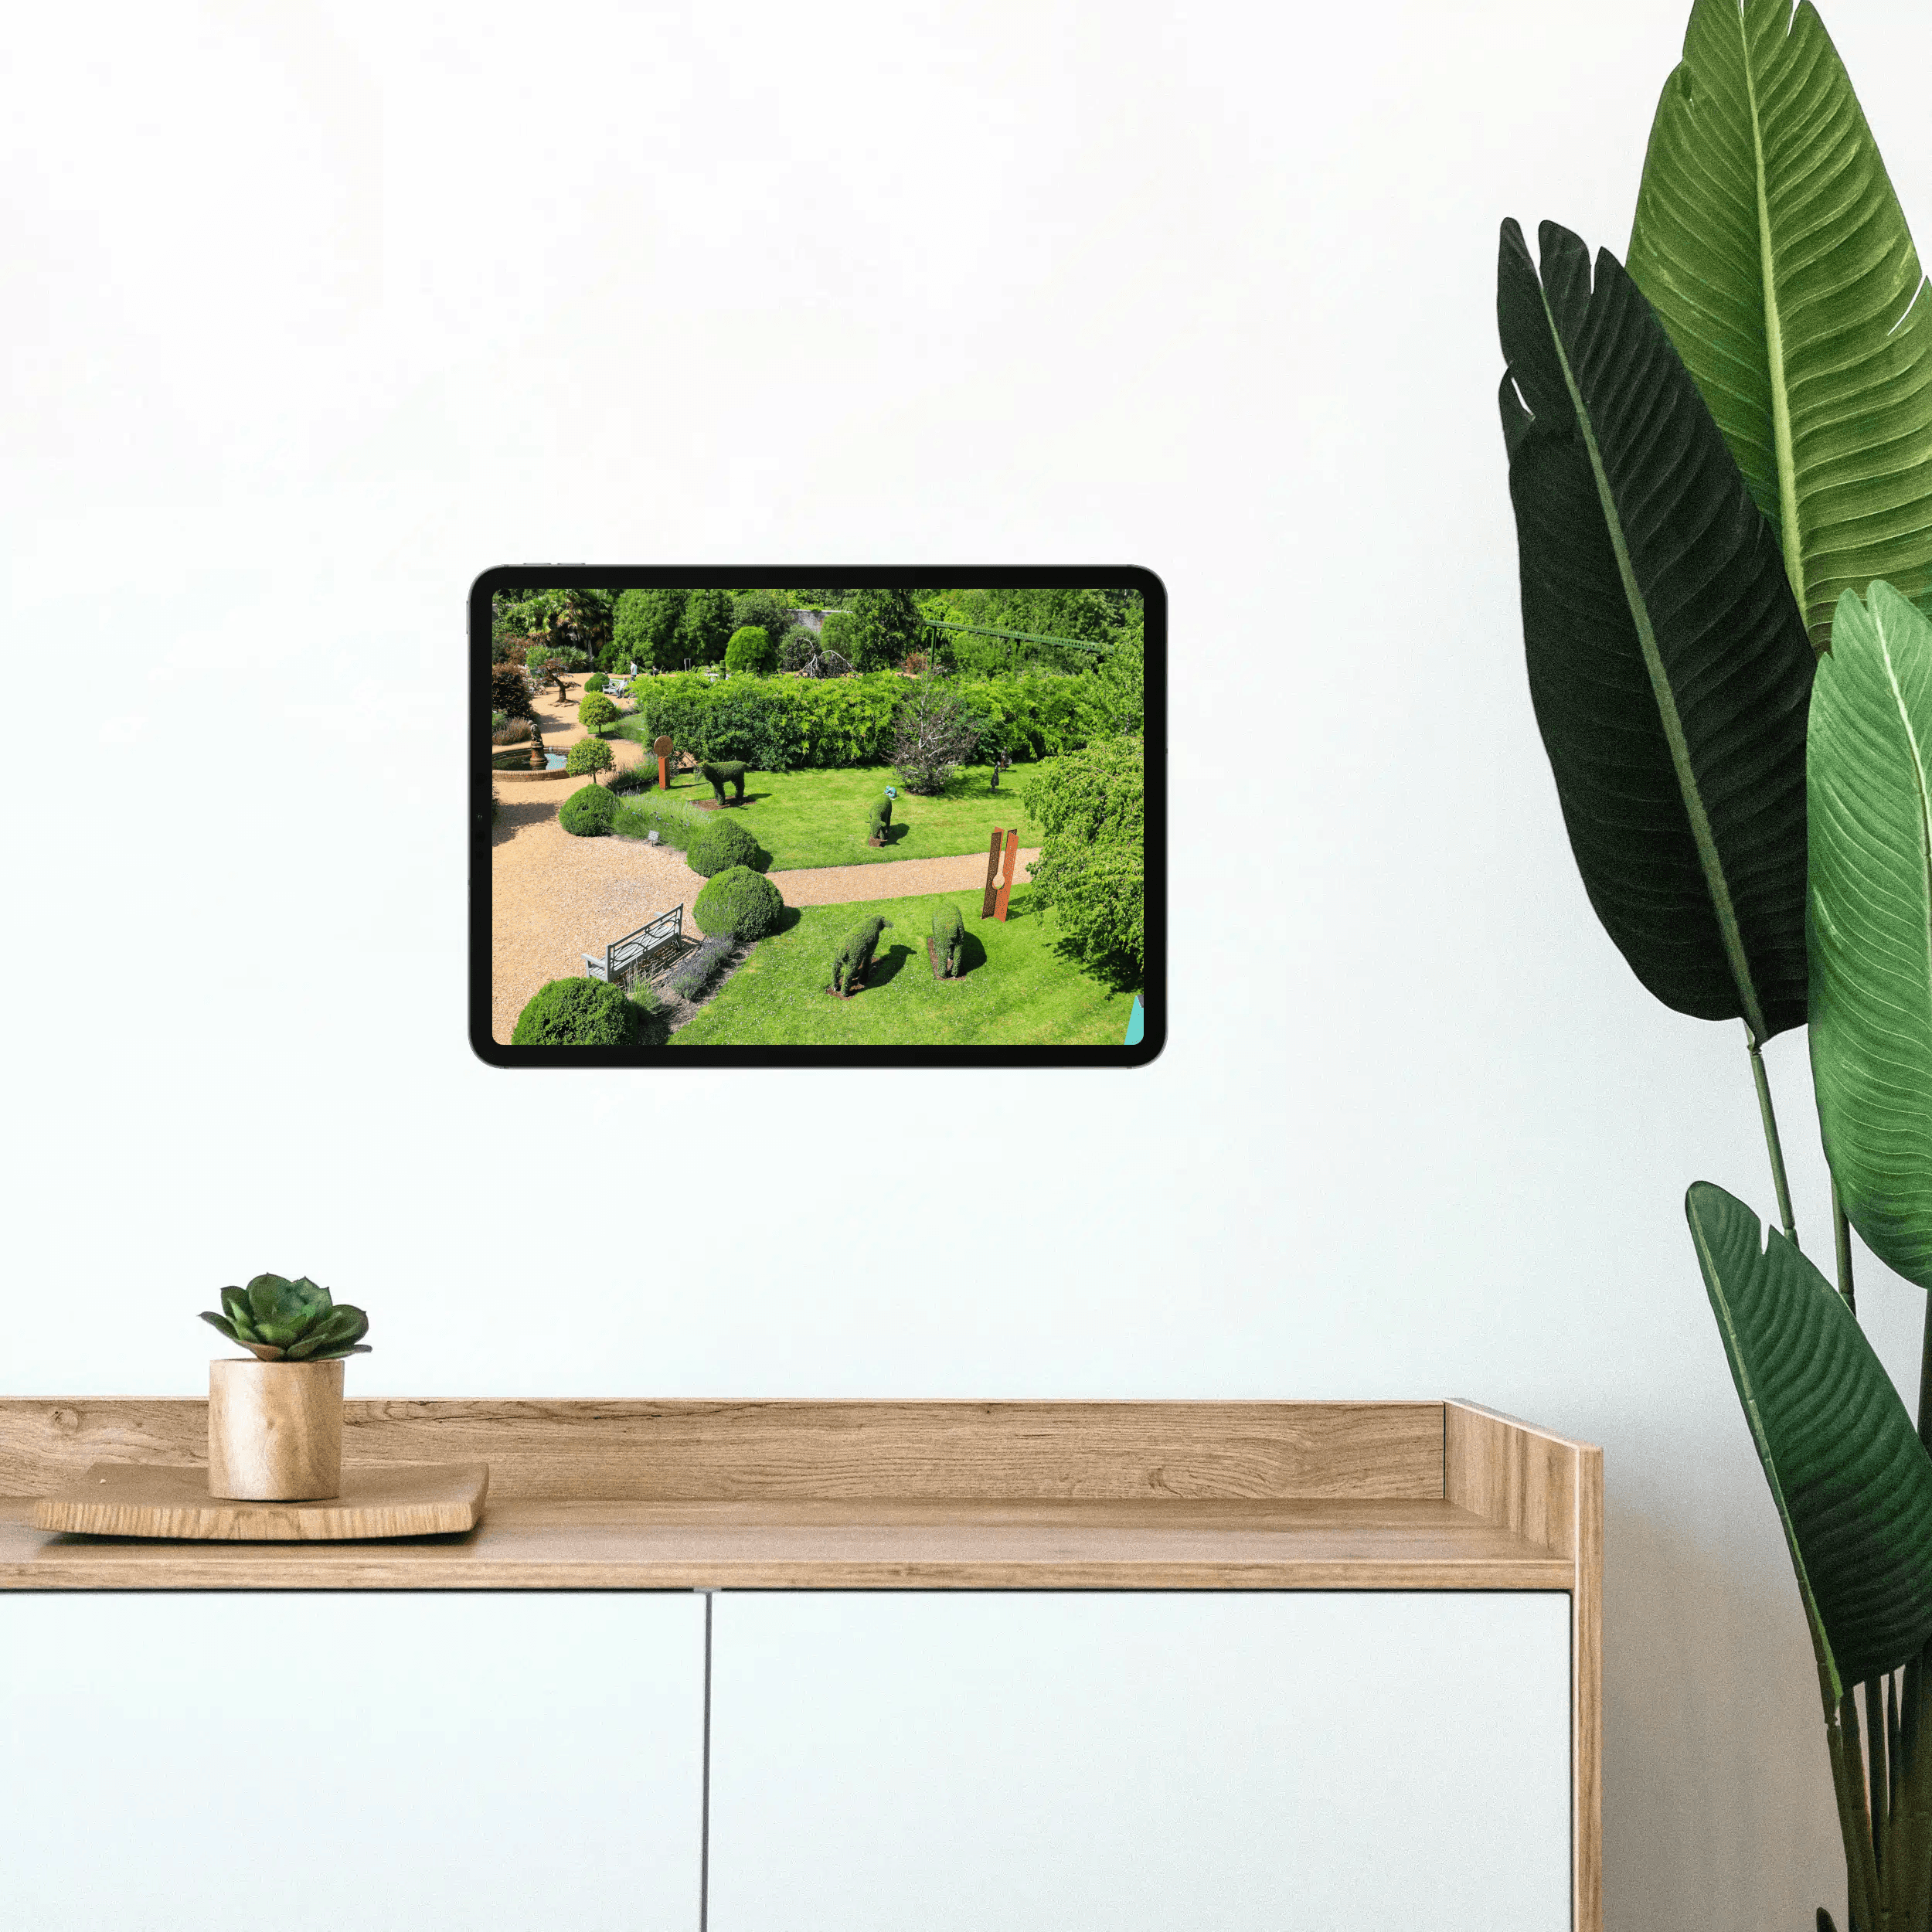
Custom Notification with Live Camera Feed
Open the camera stream instantly.
Smart Bathroom Fan Control
Make your fan truly intelligent.
New Mail Notification
Get notified when new mail arrives.
Integrate Speakers into Workflows
Control volume, play music, or pause playback.
Battery Warning
Get battery alerts when they matter.
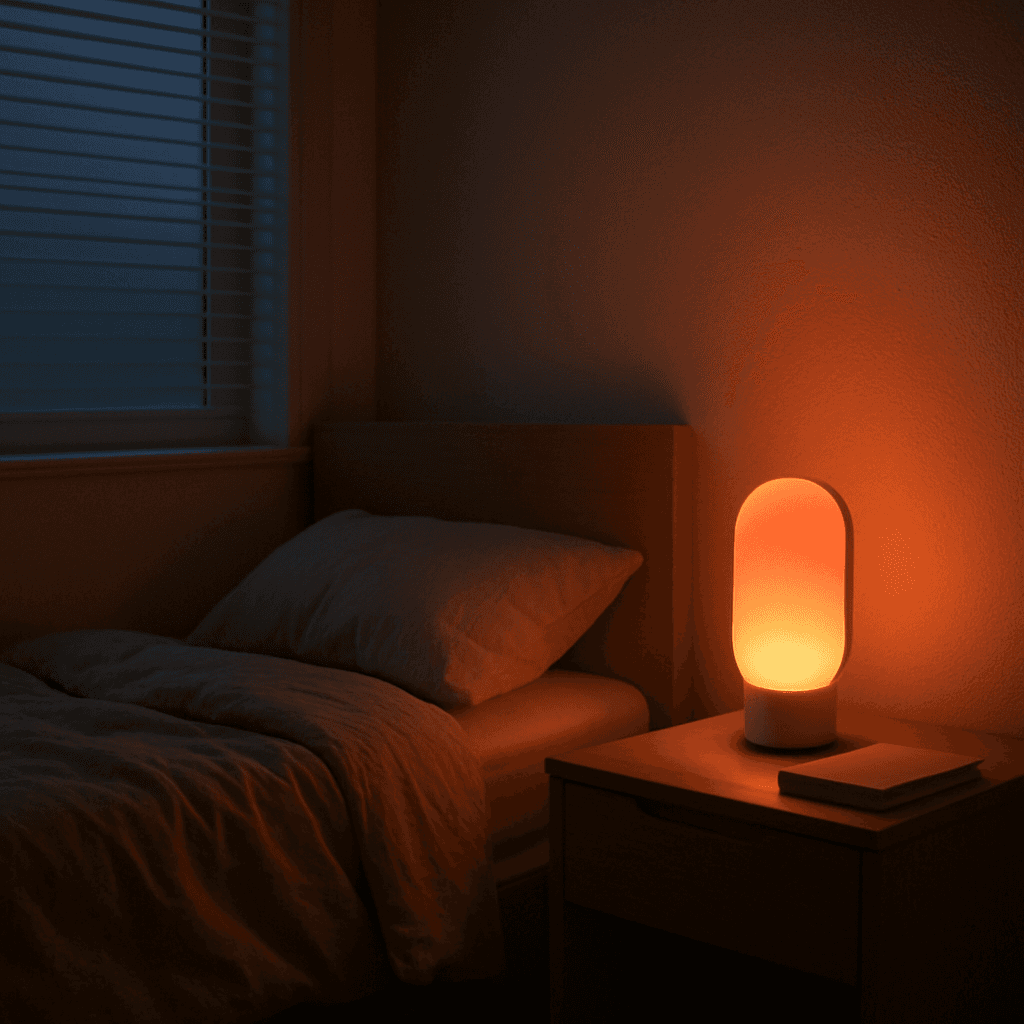
Sleep Timer
Use a sleep timer with Apple Home.

Execute Workflow Only Once a Day
Ensures the workflow runs only once.
Accessory Values in Notifications
Send notifications featuring real-time accessory values.
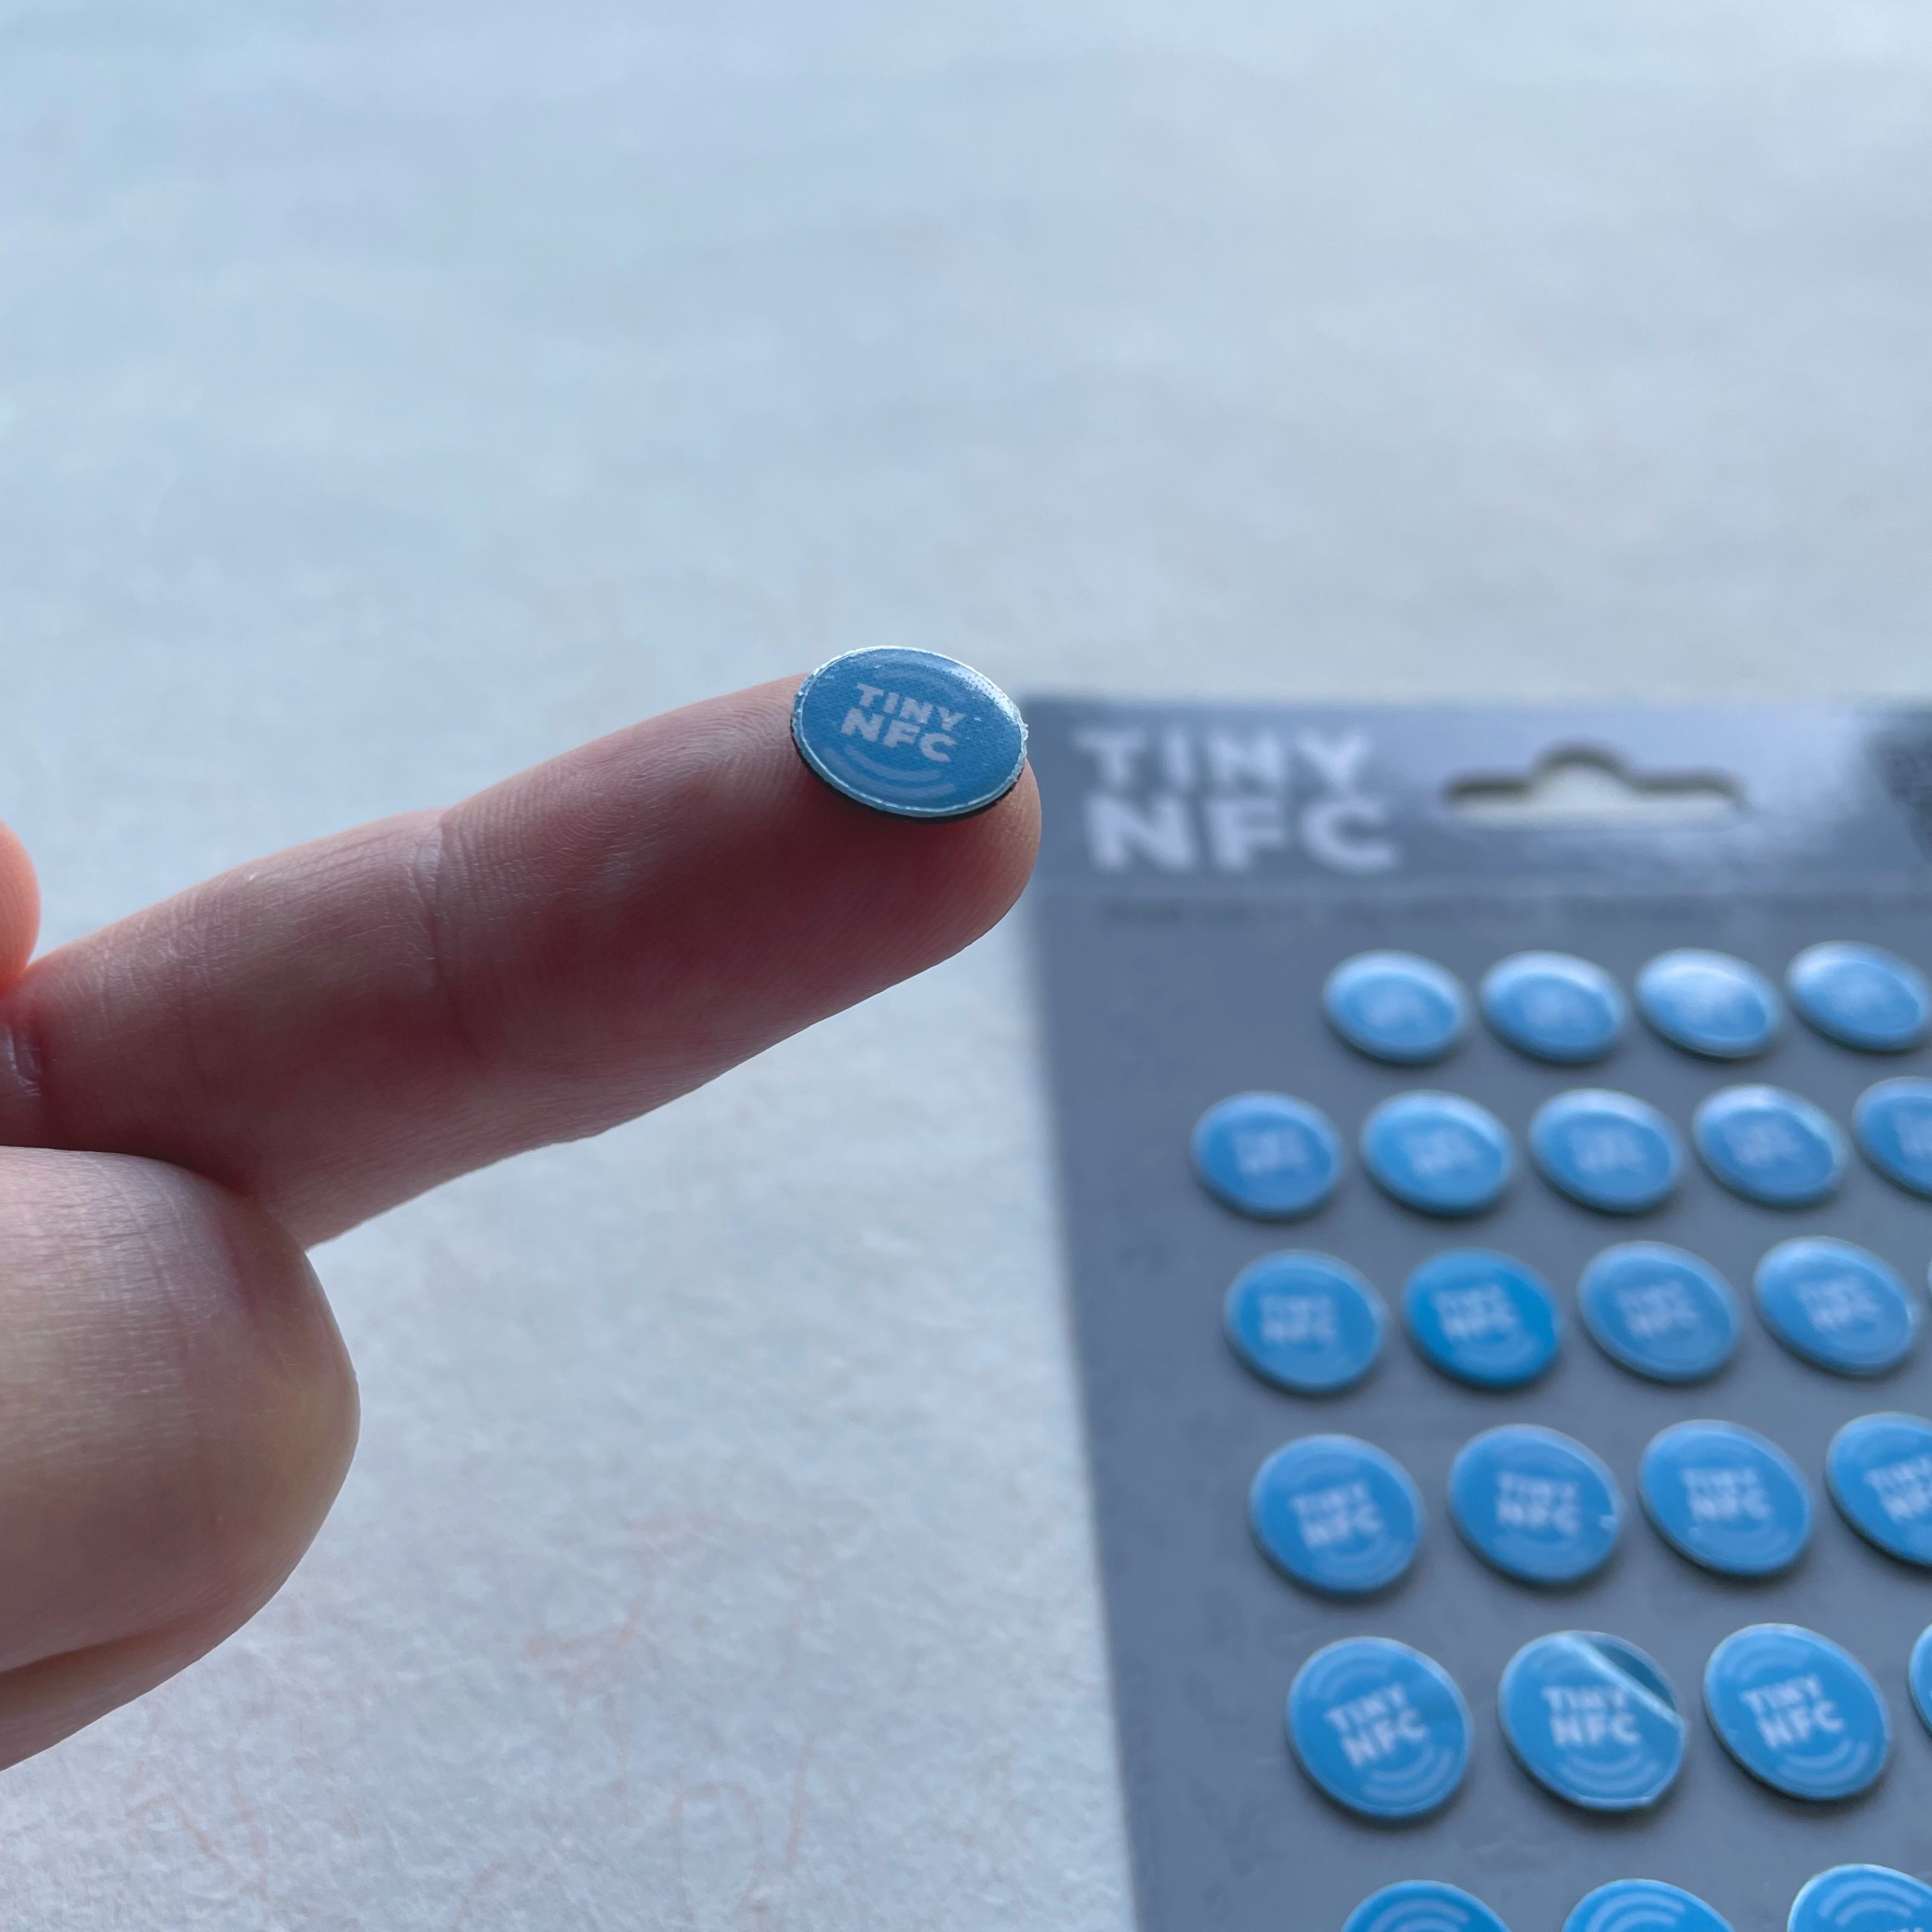
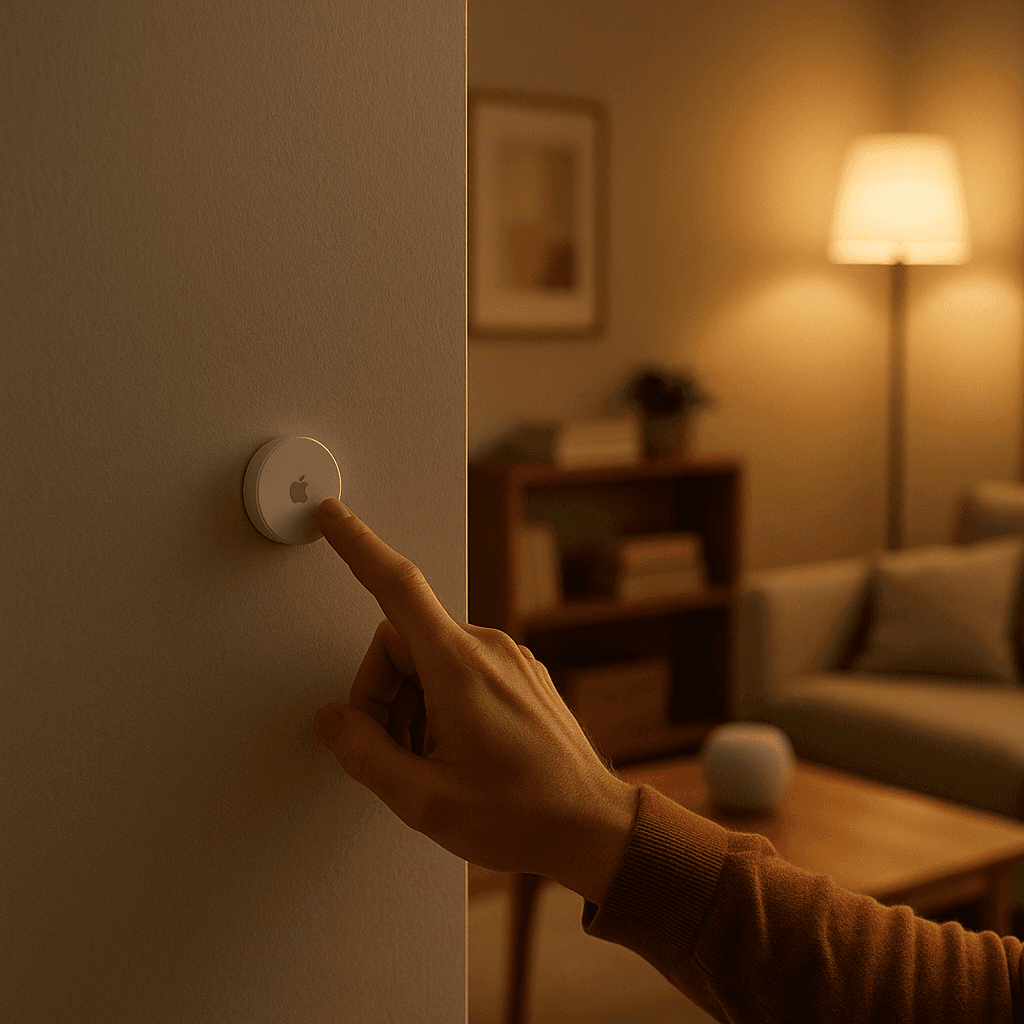
NFC Tags
Automate Apple Home Accessories with NFC.

Blink Lights
Make a light blink and effortlessly return it to its original state.
Display Camera When Motion Is Detected
Automatically display the camera livestream whenever motion is detected.
Open Window Reminder
Get a reminder if you forget to close a window after ventilating.
Toggle Lamp
Easily toggle a lamp using a single switch.
Turn Light Off Using Motion Sensor
Efficiently control your lighting with a motion sensor.